Flower pots are not just functional containers for your plants; they can also serve as beautiful decorative elements in your home or garden. With a little creativity and some inspiration, you can transform ordinary flower pots into stunning centerpieces that showcase your personal style. In this article, we’ll explore various flower pot decoration ideas, along with answers to frequently asked questions to help you get started on your decorating journey.

Photo by: www.cheercrank.com
1. Paint Your Pots
One of the easiest ways to decorate your flower pots is by painting them. You can use acrylic paints to create solid colors, patterns, or even intricate designs. Consider painting your pots in colors that complement your plants or match your outdoor decor. You can also use stencils or masking tape to create clean lines and geometric shapes.

Photo by: www.pinterest.com
2. Decoupage Designs
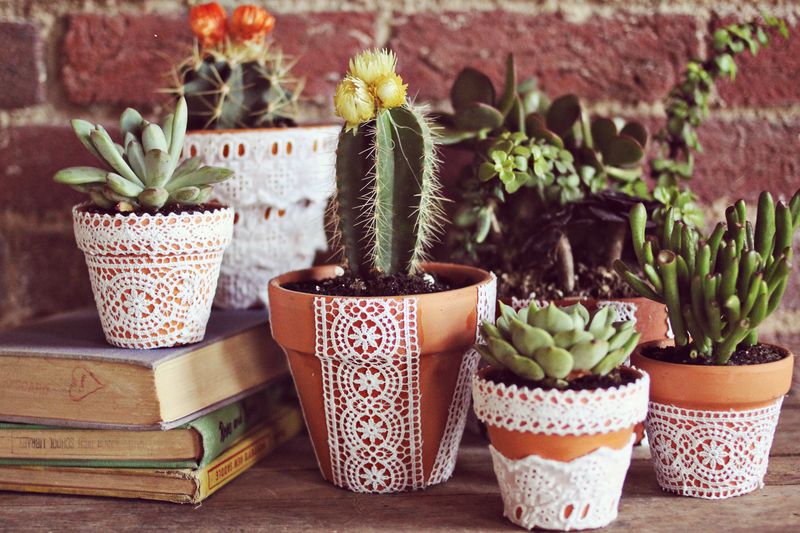
Decoupage is a technique that involves gluing paper cutouts or fabric onto a surface and then sealing it with a clear finish. You can use this method to decorate your flower pots with beautiful patterns, images, or even personal photographs. Simply cut out your desired design, glue it onto the pot, and then apply several coats of decoupage medium to seal and protect the surface.

Photo by: www.topdreamer.com
3. Mosaic Masterpieces
Creating a mosaic design on your flower pots is a fun and creative way to add texture and visual interest. You can use broken tiles, glass beads, or even small pebbles to create intricate patterns or abstract designs. Start by sketching out your design, then apply a layer of tile adhesive to the pot and carefully place your mosaic pieces. Once the adhesive has dried, apply grout to fill in the gaps and create a smooth, finished look.

Photo by: blog.gardenloversclub.com
4. Wrap with Twine or Rope
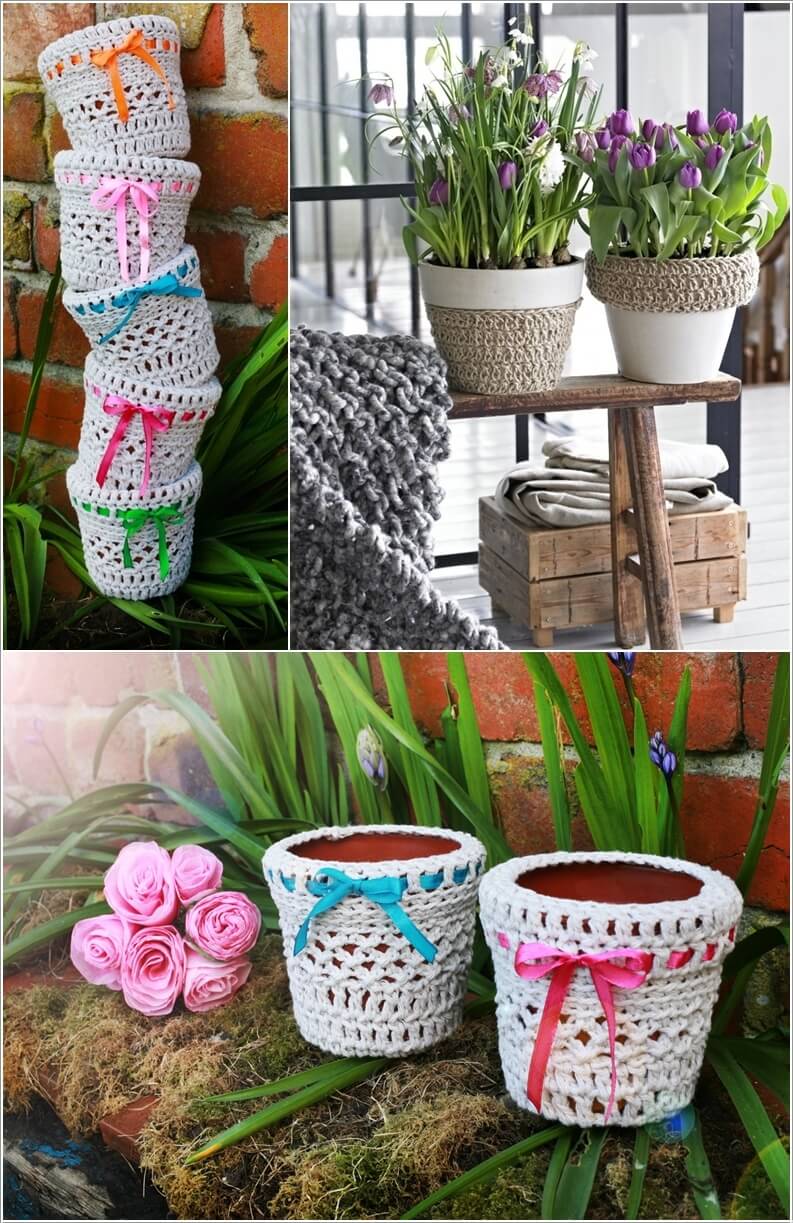
For a rustic, natural look, consider wrapping your flower pots with twine or rope. This simple technique adds texture and warmth to your pots, and it’s easy to do. Simply apply a layer of hot glue or craft adhesive to the pot, then carefully wrap the twine or rope around the surface, pressing it firmly into the glue as you go. You can create patterns or designs by varying the thickness or color of the twine.

Photo by: blog.gardenloversclub.com
5. Stencil Designs
Stenciling is another easy way to add patterns or designs to your flower pots. You can purchase stencils at your local craft store or create your own using a cutting machine or scissors. Simply tape the stencil onto your pot, then apply paint using a foam brush or sponge. Remove the stencil carefully and let the paint dry completely before adding a second coat if needed.

Photo by: blog.gardenloversclub.com
6. Chalkboard Paint
Chalkboard paint is a fun and functional way to decorate your flower pots. Simply apply a layer of chalkboard paint to the surface of your pot, let it dry completely, then use chalk to write the name of your plant or a fun message. This is a great option for herb gardens or for labeling different plants in your collection.

Photo by: shiawomen.org
7. Glitter and Glamour
For a touch of sparkle and shine, consider adding glitter to your flower pots. You can use glitter paint or apply loose glitter to a layer of decoupage medium for a more textured look. Choose colors that complement your plants or match your decor, and be sure to seal the glitter with a clear coat to prevent shedding.

Photo by: topdreamer.com
FAQ
Q1: What kind of paint should I use on my flower pots?
A: Acrylic paint is a good choice for decorating flower pots, as it adheres well to ceramic, plastic, and terracotta surfaces. Look for paints that are labeled as “outdoor” or “weather-resistant” if you plan to use your pots outside.
Q2: Can I use regular glue for mosaic designs?
A: While regular glue may work for some mosaic projects, it’s best to use a specific tile adhesive or mortar for outdoor pots or for designs that will be exposed to moisture. These adhesives are formulated to withstand the elements and provide a strong, durable hold.

Photo by: www.amazinginteriordesign.com
Q3: How do I seal my painted or decoupaged flower pots?
A: To protect your painted or decoupaged designs, you’ll need to apply a clear sealer or topcoat. Look for products that are labeled as “outdoor” or “waterproof” to ensure that your designs will hold up to the elements. Apply several thin coats, allowing each coat to dry completely before adding the next.
Q4: Can I use regular chalkboard paint on my flower pots?
A: Yes, regular chalkboard paint can be used on flower pots. However, keep in mind that chalkboard paint is not typically weather-resistant, so it may not hold up well to outdoor use or frequent watering. Consider using a clear sealer over the chalkboard paint to help protect it.

Photo by: blog.gardenloversclub.com
Q5: How do I prevent my twine-wrapped pots from unraveling?
A: To keep your twine or rope-wrapped pots secure, be sure to apply a strong adhesive, such as hot glue or E6000 craft adhesive, as you wrap. Start and end your wrapping on the bottom of the pot, tucking the ends of the twine securely under the pot or gluing them in place. You can also apply a layer of clear sealer over the twine to help hold it in place.
Conclusion
Decorating your flower pots is a fun and easy way to add personality and style to your home or garden. Whether you prefer bold, graphic designs or subtle, natural textures, there are endless possibilities for transforming your pots into works of art.
By experimenting with different techniques, such as painting, decoupage, mosaic, and wrapping, you can create unique and beautiful designs that showcase your personal style. And with a little care and attention, your decorated flower pots can last for years, adding a touch of beauty and charm to your space.
So gather your supplies, let your creativity run wild, and start transforming your ordinary flower pots into extraordinary works of art today!
